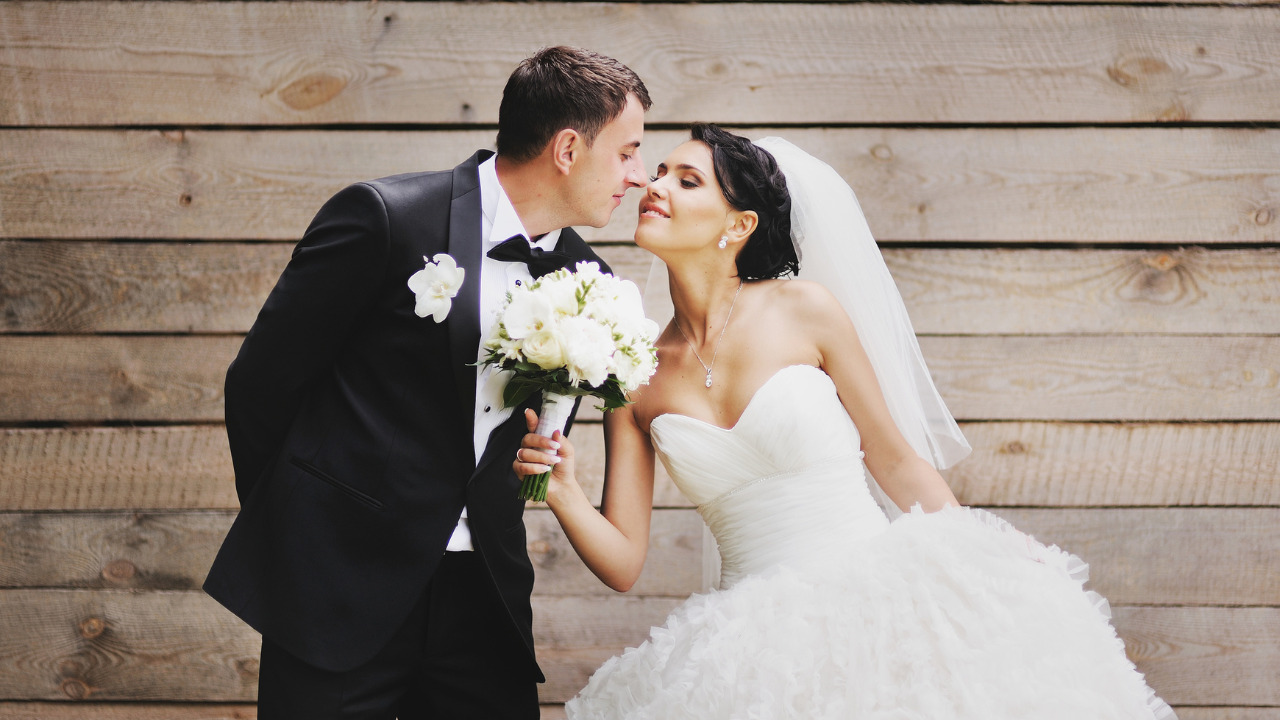
You hired a professional to shoot your wedding day, but unless you’re a celebrity, you’ll likely be on your own (sans paparazzi) when it comes to your honeymoon. We know your wedding album takes top priority, but that doesn’t mean you should overlook the photos from possibly the most expensive, romantic and exotic vacation of your life. Without some planning, you could wind up with washed-out, uninspired snapshots. Use this guide to create a Facebook album of truly great photographs from your first vacation as a married couple.
Get Your Gear
First, make an assessment on the camera you currently own. If it isn’t up to par, now’s the perfect time to buy (or register for) a new one. When you consider a camera that works well for travel, think light and easy. Unless you’re a semi-pro, it’s doubtful you’ll want to lug seven lens options around the beach. If you haven’t been camera shopping lately, you’ll find that your point-and-shoot options have expanded and that digital has gotten much more interesting (some cameras even have Wi-Fi capabilities—so you can upload that amazing shot right to Facebook!).
Once you have your camera, take time to actually read the manual and practice shooting. By familiarizing yourself, you’ll take better photos and also be assured that it’s functioning properly. Take the manual with you on your trip, make sure you’ve got fresh batteries in the camera (or a charger) and purchase backup batteries (just in case).
More used to shooting on your smartphone? You can buy lenses that attach to your phone to get even better quality images. And don’t forget about the selfie stick! The two of you are going to want to be in your photos as you’re exploring together—and sometimes there won’t be anyone nearby to take them for you. This is where the selfie stick comes in handy. Just make sure that whatever sites you’re visiting allow them.
Time It Right
Posing on the beach at high noon isn’t the best concept for a photo—the sun is high and bright, creating a disastrous glare and most likely scrunched-up, squinting faces. The best time of day to take photos is early or late (before 10 a.m. or after 3 p.m.), when the sun is at a low angle. The light has a warmer look to it and you’ll have more contrast and color saturation.
For any daytime photo, the sun should be behind you (the photographer) unless you’re purposely trying to create a backlit effect. If the sun just won’t cooperate and the shot you want is getting a glare, use your hand to create a shield. At night, getting enough light will be your biggest challenge. Keep in mind that your flash reaches a maximum distance of about only 15 feet, so get as close as possible. (Also keep in mind that shooting the Eiffel Tower at midnight with your flash just won’t cut it.)
Be Creative
Technique is essential, but so is creativity. Don’t just stick to the center of your shot—use the rule of thirds. To do so, separate your frame (what you see when you look through the viewfinder) into three sections. For horizontal thirds, put your horizon line at or above the top third line to accentuate the foreground, or at or below the bottom third to take advantage of a great sky. For vertical thirds, put your main subject in either the right or left third of the frame looking or pointing (with the body, not a finger) at the opposite side of the photo.
Avoid taking every photo from the same angle or position. Spice things up with close-up or panoramic shots, or place something in the extreme foreground to frame something in the background. Get a different perspective by climbing up high, or lying down low. You’ll up your odds of capturing a great shot by taking a few minutes to plan it out—then feel free to snap away until you get that perfect shot.
Make Friends
Sure your honeymoon will be romantic with just the two of you, but it can also make for a boring photo album if you end up with a series of “his” and “her” shots. This is your honeymoon, so you want plenty of duo action caught on film. It may seem awkward, but force yourself to ask someone—even if you don’t think the person speaks English—to take your photo. Photography is an international language: You only need to say “photo,” display the camera, and point to the button that makes it work. You can even ask a waiter or an employee at your resort to do the honors. (This is also where a selfie stick comes in handy.)
Another option is hiring a local photographer through a service like Flytographer to do a mini photo shoot or going on a photography double date. Be on the lookout for another couple, hopefully on their honeymoon as well, to propose an hour or two of mutual photo revelry. Scout out a beautiful setting the day ahead, then return with your double date for a quick photo session. This is your chance to dress well, do your hair and makeup, and capture more stylized photographs.
After the Honeymoon
Before sharing photos, edit. If you took a dozen photos of the ocean on the same day, from the exact same angle, select just the best one or two. Trust us: Your viewers will thank you for sparing them a tedious viewing of duplicate images. After weeding your photos down to only the most exceptional, stop procrastinating and get those beauties into an album. Putting a layer of acid-free paper between the outside world and your photos will help you avoid those dreaded fingerprints. We like the idea of using a separate album for each trip you take—the first one as newlyweds being the most important, of course. And don’t forget to share them on social media.
Still not confident in your pose? Check here for tips.
These shots are a must on your honeymoon.